Tuesday 31 March 2015

Best Friend Clothes

 
After starting on the Christmas posts from last year, I've been excited to share this little set of outfits I created for Amelia and our best friends little girl and boy who will be our little one's greatest friends :-D
 
With a three year old's declaration when Amelia was just a few weeks old, that no they wouldn't be friends when she was older - that they already were friends, I thought I would put together some cute matching clothes for their Christmas gifts!  A little circle skirt with a fold down waistband for the girls, and an embellished shirt for the little guy!
 
A HUGE thanks to Delia Creates for the perfect tutorial on this skirt with a fold down waistband.  She so wonderfully describes the various ways you can make it, with different seams or waist options, as well as the information on all the sizing possibilities!
 
I used the 3-6 month size for our baby girl, and she's still able to wear it now which is perfect, especially as she can get her chubby little legs out without having to wear tights now we're not in the dead of Winter anymore!!


No tutorial photos for this project I'm afraid to say.  I don't know why I don't have any... Perhaps in the mad rush towards Christmas there just wasn't enough time.  But the original tutorial over on Delia Creates has great instructions and you can adapt it to many fabrics and ideas for various skirts.

The idea of creating two matching skirts was the easy part.  But I wanted to include everybody so I had to think of something for the little guy as well!  I contemplated pants of some kind, but was excited when I finally found a plain long sleeved shirt that I could embellish with an L (for his name) using the same fabric as the skirts.

I cut out a cardboard template of the L and cut two fabric pieces, one with the right side of the fabric up (the correct way around) and one in the reverse.  With wrong sides together I sewed the L together, and then turned the fabric inside out, right sides facing out now.  Using complementary thread, I top stitched around the L and onto the shirt.


Everything ironed, and gifted at Christmas time. 
And now I'm super excited to create lots more of these cute skirts for the Spring and Summer time :-)

Wednesday 25 March 2015

Christmas Cakes 2014

It's almost Easter, so in the race to get these blog posts from December and January written up before Springtime crafting and baking begins, it means that Christmas posts have to be shared, even if it is the end of March!

 
Using the same traditional fruit cake recipe that was originally my Mum's, but now with a couple of my own little tweaks to it, I started this baking at the beginning of November.  After soaking the fruit in sherry for a few days first, it was baking day and this time I had my baby girl helping me!


Cakes all baked, stored and soaked in sherry a few times over 6 weeks it was decorating day!


Apricot glaze, marzipan and then fondant layers, and white fondant decoration pieces cut out using mini cookie cutters and winter linzer cookie cutter shapes to create a fair isle design.
 
In thinking about this year's Christmas cake designs I knew I wanted to create something Nordic, and my favourite pattern and Christmas theme of the season was definitely fair isle.  Everything seemed to be fair isle and Nordic this past year.  Lots of clothing, home décor and paper crafts all in this design - so I went with this inspiration for my cakes and was so happy with how it turned out.  I was excited to have appropriate shapes in mini cookie cutters, and especially loved the two little squirrels, the little houses and also the ice skates!  I used Wilton's fondant extruder to make the various dividing lines between the small fondant pieces.  SO HAPPY with how it all turned out :-D
 
The cakes were finished just the day before we headed to England for Christmas week, and with a nice layer of snow in the back garden I pulled on my snow boots and headed out in -12°C to do a Christmas cake photo shoot in the snow!!  A little crazy for sure... I don't know if any neighbours saw me but oh well :-S!


After sticking around for a long, long time - the snow has finally almost all melted so with this blog post written, and the grass visible again it's time to look to Spring and everything crafty and foody that will bring.  It's getting closer :-D

Monday 23 March 2015

CSA Winter Box 2: Roasted Veg and an Extra Soup!

Just a quick one today as I'm excited to say I have finished up November's blog posts which means Christmas is coming!!  It only took until March a few months later to share my Christmas crafts, baking and gift projects.  Oh well, all in good time!  Watch out for a throwback to the holiday season with posts coming up this week.
 
 
Here's a quick round up of our December CSA Box 2 which included amazing mushrooms, a cabbage that my husband made boiled cabbage with (can I use nursing as an excuse not to eat too much of this?! :-S).  We didn't get around to using the beets until after Christmas but they were still good!  The more unusual items this month were the fingerling potatoes, and watermelon radishes.
 
 
By the time we picked up our December box, we also still had the acorn squash leftover from November but that was quickly used for a delicious acorn squash soup, that included roasted seeds as a garnish.  They were so good!
 
I had seen a recipe for squash soup in Chatelaine, and just with a couple of changes we used this recipe you can find the link to here.  It was just perfect for a Winter evening and so, seeing as this Canadian Winter is lingering way, way longer than we'd all like, I'm not TOO behind with sharing this one!


There's a first time for everything, and these CSA boxes are really pushing us to try new things.  And that's okay!  We're happy to be trying new flavours, to play around with new recipes and are excited that soon enough our little baby girl will be able to share in this exploration of healthy fruit and vegetables too :-)

Watermelon radishes, named this because of the colour and pattern of the inside of the radish are pretty cool.  Jonathan took charge with these and found a simple way to roast these from the Red Fire Farm website, which we were grateful for as we had never come across these before, let alone cooked with them!  Cut into wedges, and roasted in olive oil with a drizzle of maple syrup coated over them made them pretty tasty!!


More roasted veg to finish up with today.  Delicious, fresh, crunchy on the outside - soft on the inside, these potatoes really did make for a nice change.  Frozen oven chips don't make the cut after these :-P


I cooked these up, with little baby girl watching in the highchair, using a recipe from Food Network's Tyler Florence and it was a quick and simple recipe, that I actually changed a little just because of what I had in the fridge, or rather, what I didn't have in the fridge!  I used cloves of garlic, and fresh sage, but only dried rosemary and thyme as we didn't have any fresh.  I'm sure it made a difference on taste, but ours definitely weren't bad!

The only thing I'd change is to cut up these bigger potatoes into smaller sizes - the smaller potatoes, the crispier edges!!!!  There was a bit too much variety in my sizes of potatoes and how I cut them, which was a shame but there'll be a next time I'm sure.

 
I guess we got too hungry and I didn't take a photo of the cooked potatoes - sorry!  But they were nicely golden and crispy all around the edges, and super soft inside.  I'd definitely recommend them!
 
So that's our CSA Boxes 1 and 2 and the dinners we had adventures with. 
Lots more to come :-)

Sunday 22 March 2015

CSA Winter Box 1: Spinach, Mushroom and Feta Quiche

 
Whether it's breakfast, brunch, lunch, straight out of the fridge for a snack, or for dinner - quiche is a dish that can really wok anytime and anyplace!  Warm or cold, with almost any fillings make this such a versatile dish. 
 
We chose to use our fresh spinach from our CSA box and to pair it with feta we had in the fridge.  After a little research we came across this recipe and this recipe both of which inspired our quiche.  They both had elements of what we were looking for and had great reviews so we went with it, and yes, they turned out as well as we had hoped!  Especially lucky as we made a double batch :-)
 
Ingredients:
 
1 prepared 9-inch single pie crust
4 eggs
3/4 cup milk
1 tsp garlic, minced
1/2 teaspoon salt
1/2 teaspoon ground black pepper
1/8 ground nutmeg
1/2 (10oz) bag fresh spinach
1 (8oz) package fresh mushrooms, sliced
1/2 yellow onion, sliced
1/2 (4oz) container crumbled feta cheese
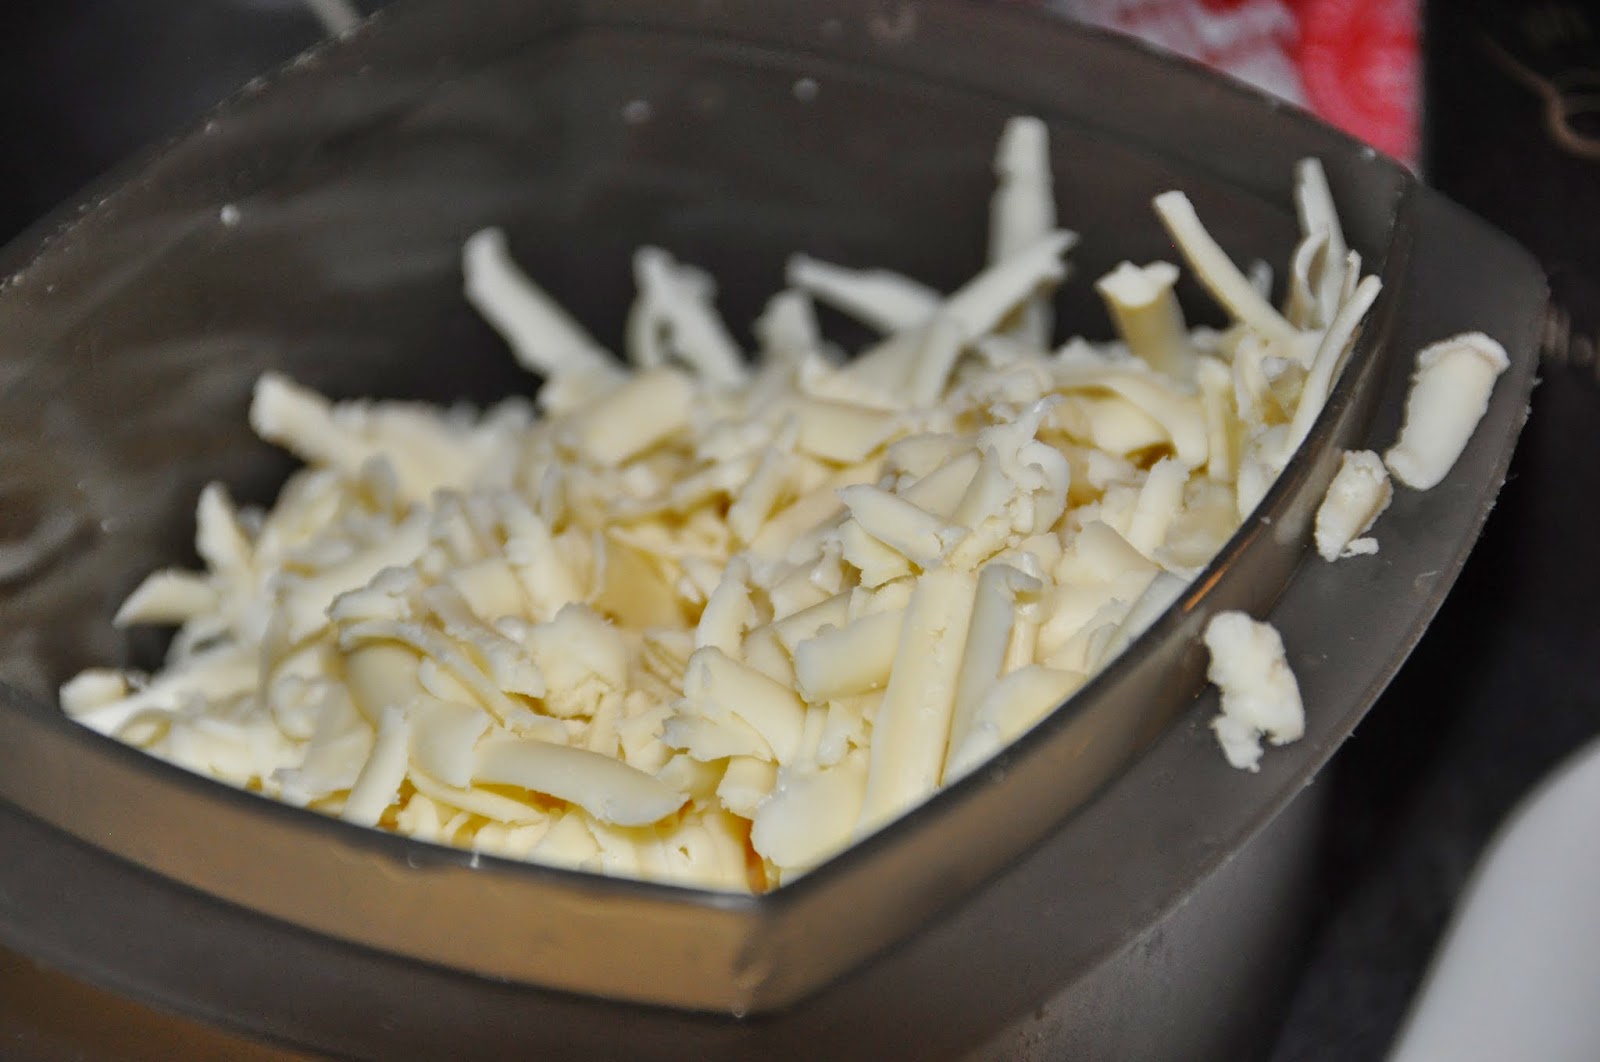
1/2 (8oz) package shredded Swiss cheese, divided
 
Method:
 
1.  Preheat the oven to 400°F. Wash and drain the fresh spinach (or thawed frozen spinach) while you begin to prepare the other ingredients.  Prepare/thaw the pie crust (check directions on the box).
2.  Saute garlic and mushrooms in olive oil.
 
3.  Add the fresh spinach.
4.  Whisk eggs, milk, garlic, salt, black pepper, and nutmeg in a bowl.
5.  Gently combine spinach, mushrooms, onion, and feta cheese in a separate bowl. Spread spinach-mushroom mixture in the prepared pie dish; top with half the Swiss cheese. 
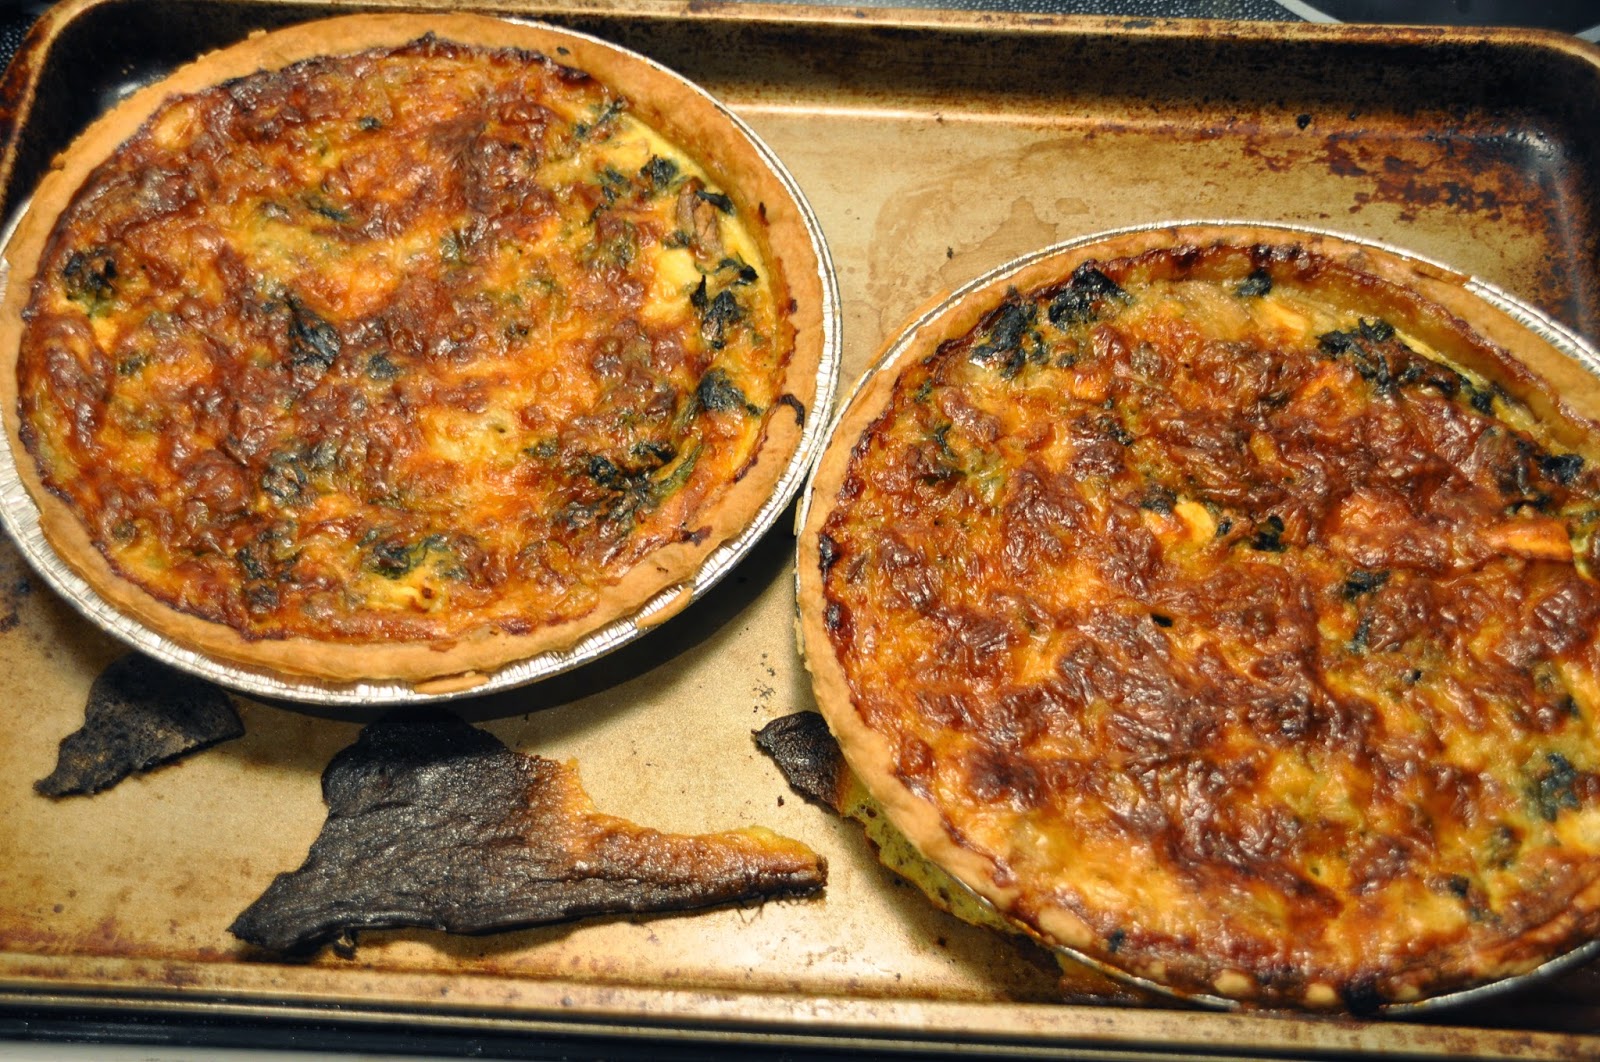
6.  Pour the egg mixture evenly over the filling, swirling egg mixture in bowl to spread seasonings through the eggs and top the quiche with remaining grated cheese. Place quiche on a baking sheet. Do not overfill the pie - we did and we ended up with leaking egg mixture all of the baking sheet! Oops!
 7.  Bake in preheated oven until the quiche is lightly puffed and browned, 45 to 50 minutes. A toothpick inserted into the center of the filling should come out clean. Cool for 30 minutes before serving.

Then enjoy!